A tire-pressure gauge has two jobs on a 4×4 trip: help you check road pressure before departure and give you repeatable readings if you adjust pressure for a trail. It does not tell you what pressure your particular Jeep and tires should use. For a first gauge, buy for the valves, conditions, and routine you actually have—not the largest number on the package.
As an Amazon Associate I earn from qualifying purchases. Some product links in this article are affiliate links.
Start with the pressure you need to measure
Find the vehicle manufacturer’s recommended cold tire pressure on the driver’s door-area placard or in the owner’s manual. NHTSA advises checking every tire, including the spare, at least monthly when cold: after the vehicle has not been driven for at least three hours. The pressure molded into a tire’s sidewall is not the vehicle’s recommended inflation setting. Front and rear recommendations can differ, so read the placard rather than assuming all five tires take the same pressure.
If your Jeep has different tires or other substantial modifications, do not assume its original placard answers every pressure question. Work out an appropriate road-pressure plan with the relevant vehicle and tire guidance before choosing an off-road target. A gauge measures the result; it cannot establish a safe target for a particular tire, wheel, load, and terrain combination.
Use five buying criteria
- Useful range: The gauge must cover both your intended trail readings and the specified road pressure of your tires, including the spare. A high maximum alone tells you little about how convenient it will be to read lower pressures.
- Valve fit and access: Check the valve type and where the stem sits relative to wheel spokes, caps, and other hardware. A nozzle that is awkward to seat squarely can waste air and produce frustrating readings.
- Readable display: Ask whether you can see the reading beside a tire at dusk or under a fender. A backlight helps, but a gauge that holds its reading after removal can matter more when the valve is hard to reach.
- Power and conditions: A digital gauge depends on batteries. Check their type, whether you can replace them, and the manufacturer’s operating-temperature limits. If trips regularly involve cold mornings or wet gear, those limits deserve more attention than a bright screen.
- A stated accuracy claim: Look for an actual tolerance, not just extra digits on a display. Treat a manufacturer’s or retailer’s specification as a claim about the instrument, not proof that a particular unit has been independently checked.
For beginners, a gauge that seals reliably and is easy to use on every wheel is more valuable than one bought solely for an impressive maximum pressure. Consider testing access to the spare valve, too: reaching four road wheels is not the same as reaching a rear-mounted spare.
Where the AstroAI digital gauge fits
The AstroAI Digital Tire Pressure Gauge is a useful example of a compact, reading-focused option. Its manual specifies a 0–150 PSI range, a backlit LCD, an LED by the nozzle, and selectable PSI, bar, kPa, and kg/cm² units. It describes a reading that locks on the screen so you can remove the gauge before looking at it. The manual also specifies Schrader valves only; it does not work with Presta valves.
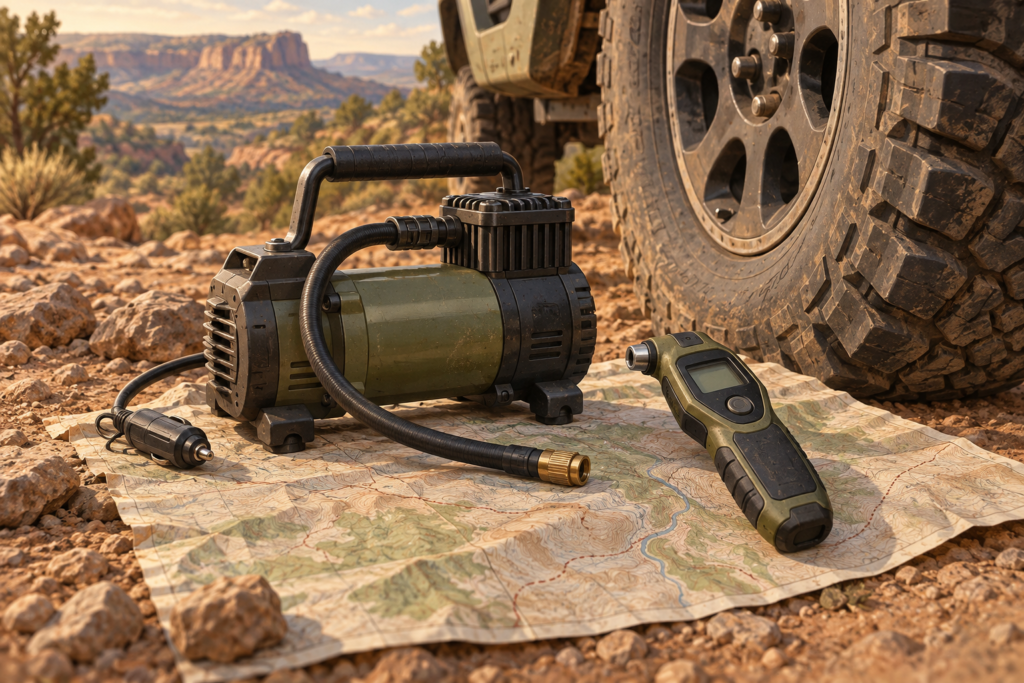
Those are documented features. Separately, the exact Amazon listing advertises ±1 PSI accuracy. That is a listing claim, not a measurement we made or an independently verified tolerance. The display and nozzle light make this model relevant if you check pressures around camp or at a dim trailhead, but they do not remove the need for a clean, straight connection to the valve.
The manual lists three replaceable LR44 batteries and an operating range of 23–122°F; it also warns against exposure to rain or water and says the gauge is not suitable for low-temperature environments. In editorial terms, that makes it a reasonable candidate for a dry, accessible tire-kit pocket, not a gauge to leave loose in a wet recovery bag or depend on without checking its batteries before a cold-weather trip.
Build a routine around the gauge, not just a number
- Before departure: Check the cold pressures against the vehicle’s road-pressure guidance. Measure the spare rather than assuming it is ready because it looks inflated. Put valve caps back on after checking.
- At the trailhead: If you have a reason to air down and have established an appropriate target for your setup, measure each tire with the same gauge. Record the target somewhere you can find it later. This article does not prescribe a universal trail PSI.
- At each valve: Turn the AstroAI gauge on, press its nozzle straight and firmly onto the Schrader valve, and wait for the reading to lock. If it hisses or the result seems inconsistent, reseat it and measure again. The manual identifies a poor seal or an angled nozzle as potential causes of inaccurate readings.
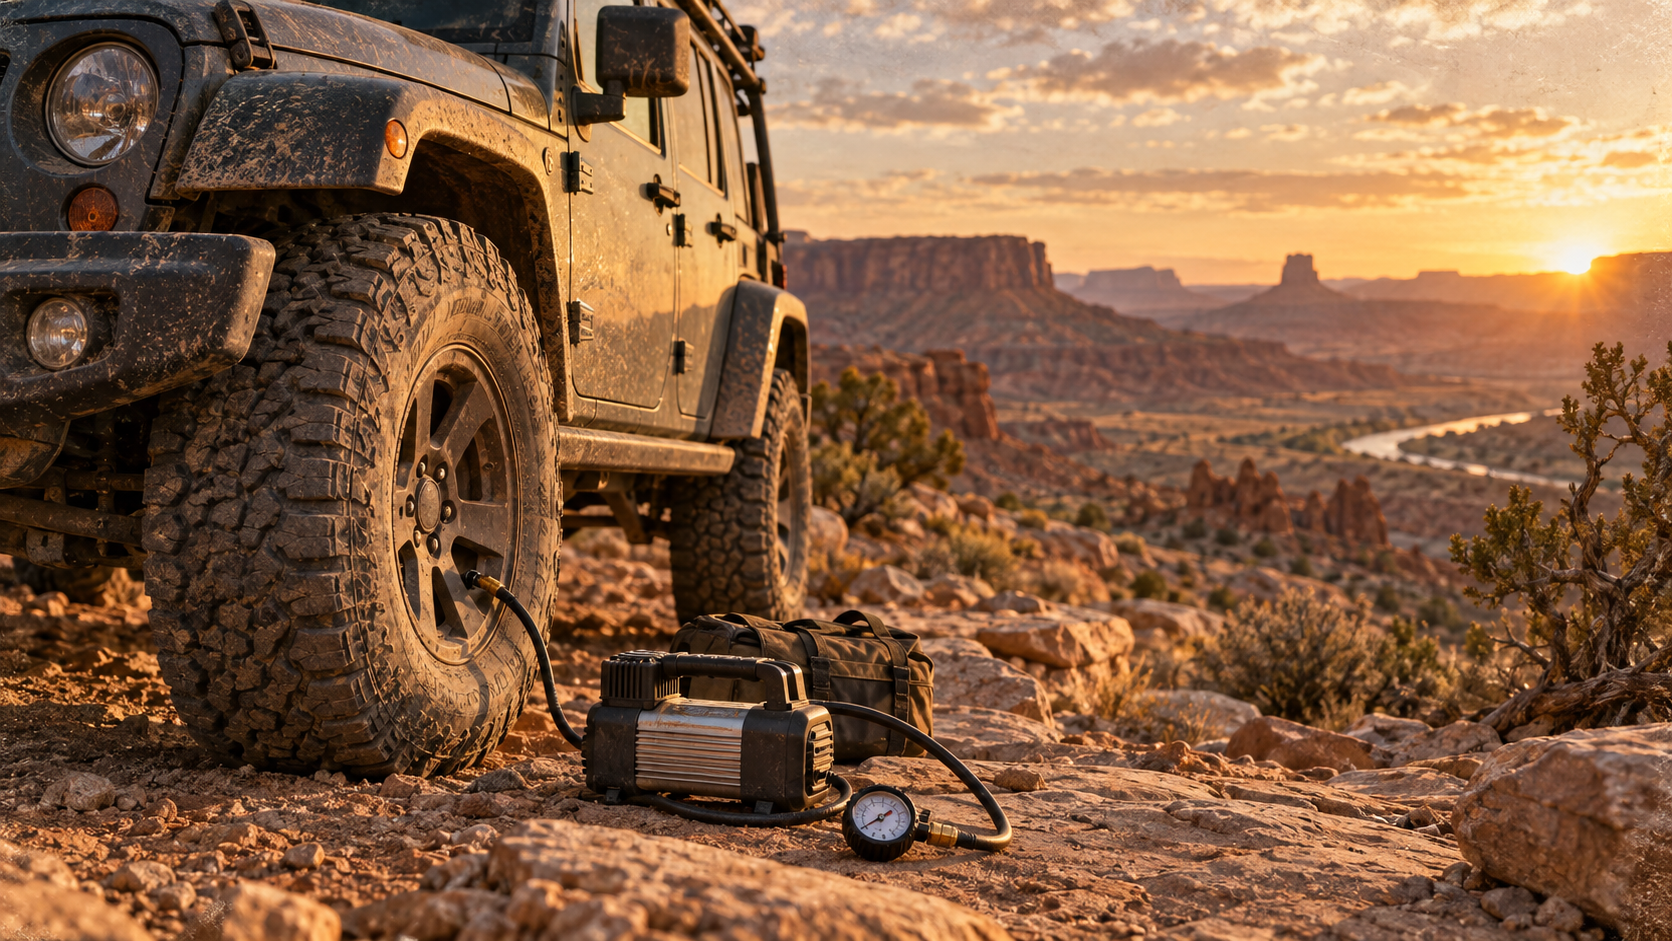
- Before returning to paved travel: Have an inflation plan and use the gauge to check your progress as you air back up. A pressure gauge does not inflate a tire. For an example of how the compressor fits into a separate tire kit, see the VIAIR 88P Jeep tire-kit guide.
- After the trip: Recheck pressures when the tires are cold. Driving warms tires and changes the reading, so do not simply bleed a warm tire down to the placard’s cold-pressure number.
The same routine matters even if your Jeep displays tire pressures on its dashboard. NHTSA notes that a tire-pressure monitoring system does not replace regular checks with a gauge; its warning may wait until a tire is significantly underinflated.
When to choose something else
Pass on this AstroAI model if your valves are not Schrader, you cannot seat its straight nozzle comfortably on your wheels, or your expected conditions fall outside the manual’s stated limits. If you want an instrument that does not need batteries, a mechanical gauge is worth considering. If you frequently air down several tires, plan for a separate deflator as well; this AstroAI’s documented role is measuring pressure, not setting it automatically.
The practical choice: Match the gauge to your valve access and travel conditions first. The AstroAI offers documented lighting, a held digital reading, and a broad stated range for a compact trail kit. Its advertised accuracy should remain a claim rather than a guarantee, and no gauge replaces a sound pressure plan or a way to put air back in.