
As an Amazon Associate I earn from qualifying purchases. Product links in this story may earn Rústiko a commission, at no extra cost to you.
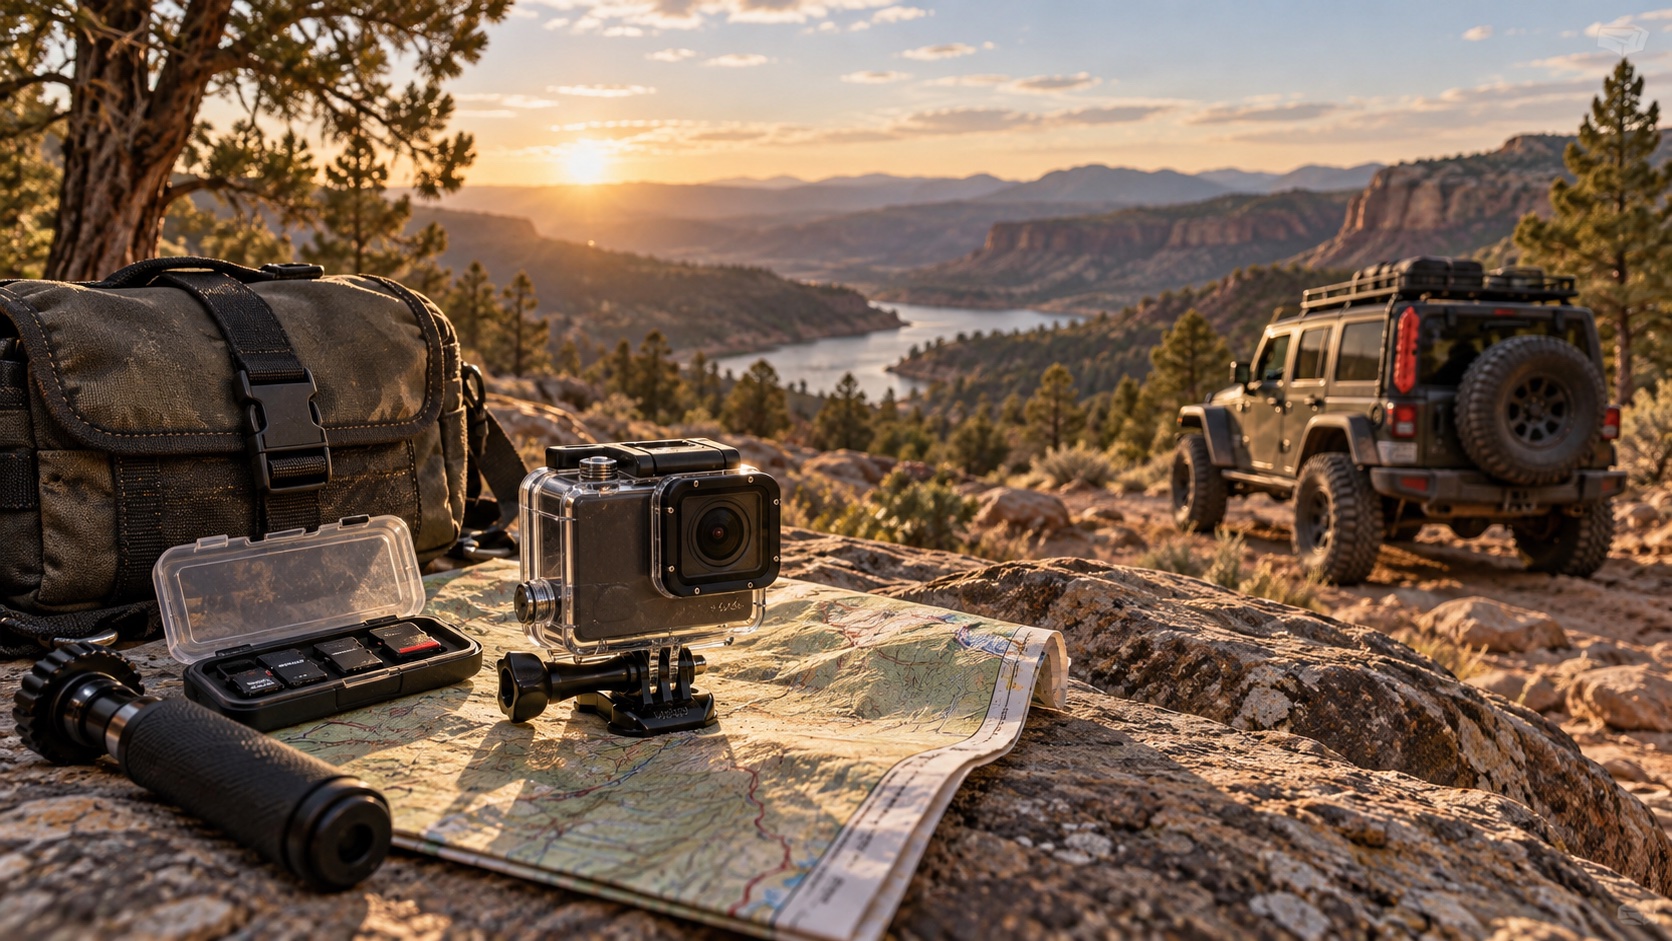
The GoPro HERO13 Black camera can turn a trail day into a record you will actually want to keep, but the camera alone does not solve the practical problems: where it sits, how long it stays powered, and what happens to the files afterward. This link is for the camera package with its standard battery and mounting pieces; check the current listing before buying any extra kit. Build around those three decisions before adding more lenses or vehicle attachments.
Start with one useful camera position
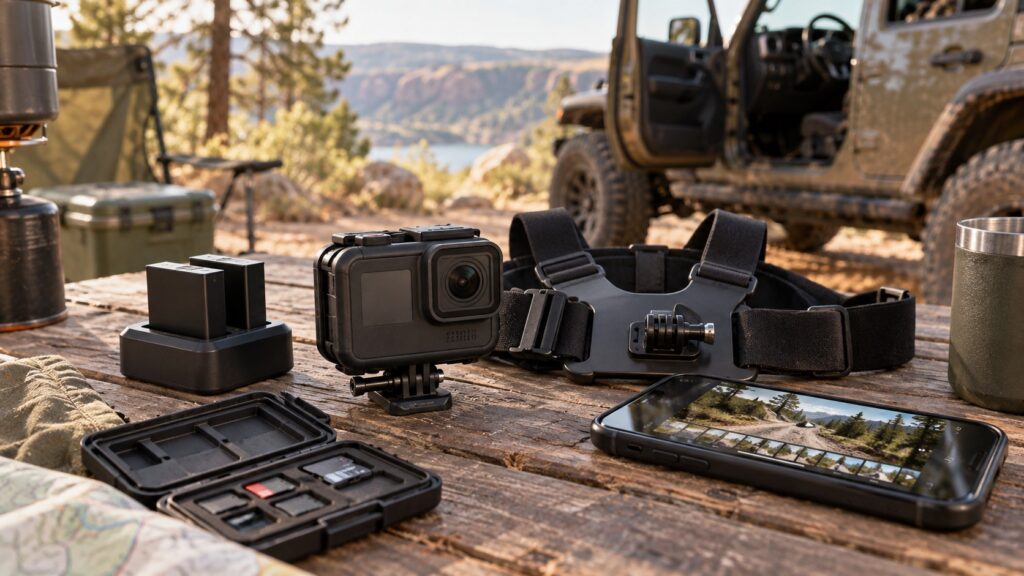
GoPro lists built-in mounting fingers and a standard tripod thread on the HERO13 Black. That gives you options, but more mounting positions do not guarantee better footage. For a walk around camp or a stop on the trail, the GoPro Chesty performance mount is a straightforward hands-free angle; GoPro lists the HERO13 Black as compatible. Fit and test it while parked, then check that it does not interfere with a seat belt, visibility, or movement. A moving vehicle needs a mount designed and installed for that use, not an improvised clamp.
Film a short test clip before the trip. Walk, turn, and look at the playback on a larger screen. If the image points at the hood or sky for the entire clip, change the angle now. Keep the first outing simple: one perspective you can trust is more useful than four cameras you cannot monitor.
Power and storage are part of the camera decision
GoPro says its HERO13 dual charger with Enduro batteries includes two spare batteries for this model. Verify the exact bundle before ordering; batteries for older GoPro generations are not automatically interchangeable. Charge everything before departure and keep spare batteries protected from loose metal objects and temperature extremes.
A SanDisk Extreme PRO 256GB microSDXC card gives the footage a place to go, but the label on a card is not the whole storage plan. Check GoPro’s current card requirements for your recording settings, format the card in the camera as instructed, and make a short recording you can play back. Keep a second compatible card in a case. At camp, copy important clips to separate storage before erasing a card; the card inside the camera is the working copy, not a backup.
A pre-drive checklist beats a bag of accessories
Set the recording mode, verify date and time, clean the lens, latch the battery door, check the mount, and start a ten-second test. Stop and inspect that clip before committing to a full drive. Never adjust a camera while driving; let a passenger handle recording or pull over safely. Respect other people’s privacy and any recording restrictions where you travel.
If the outing includes airing down, make the return-to-road routine as deliberate as the filming routine. Our VIAIR 88P trail-day kit explains that side of the day. The best footage is a bonus; getting home with charged devices and intact files is the real finish.


